Uploading a static website using AWS S3 Bucket and Cloudfront.
As a newbie in cloud engineering, I’ll be writing articles on projects I do to help anybody coming into the cloud space too. In this article, we’ll go through how to host a website using AWS S3 and AWS Cloudfront. Before we start, let’s understand what Cloudfront and S3 is;
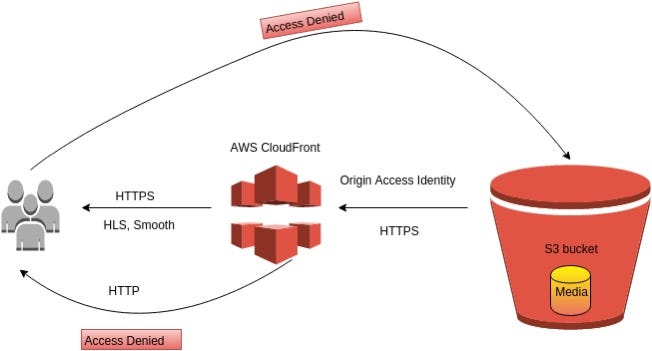
Amazon CloudFront is a web service that speeds up the distribution of your static and dynamic web content, such as .html, .css, .js, and image files, to your users. CloudFront delivers your content through a worldwide network of data centers called edge locations. When a user requests content that you’re serving with CloudFront, the request is routed to the edge location that provides the lowest latency (time delay), so that content is delivered with the best possible performance.
Amazon Simple Storage Service (Amazon S3) is storage for the internet. It can be used to store and retrieve any amount of data at any time, from anywhere on the web.
Now that we have an idea of what Amazon Cloudfront and S3 Bucket is, let's host our static website.
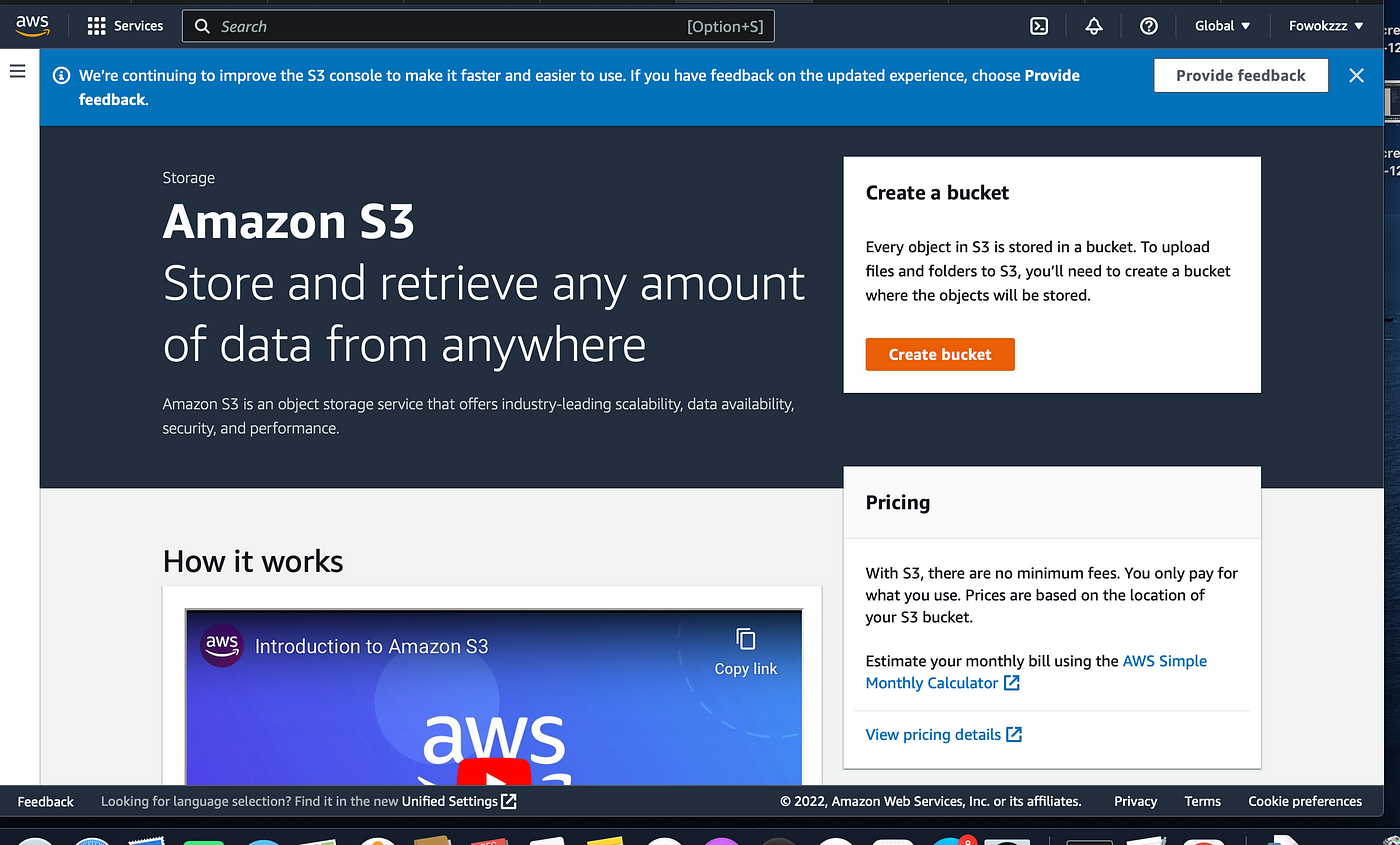
After logging in to your AWS console, the first step is to search for S3 in the search bar and click on the first option in the result. You should have the same thing in the image above on your screen. Click on “Create bucket” to create a bucket to store your website files and folders.
Bucket creation and configuration
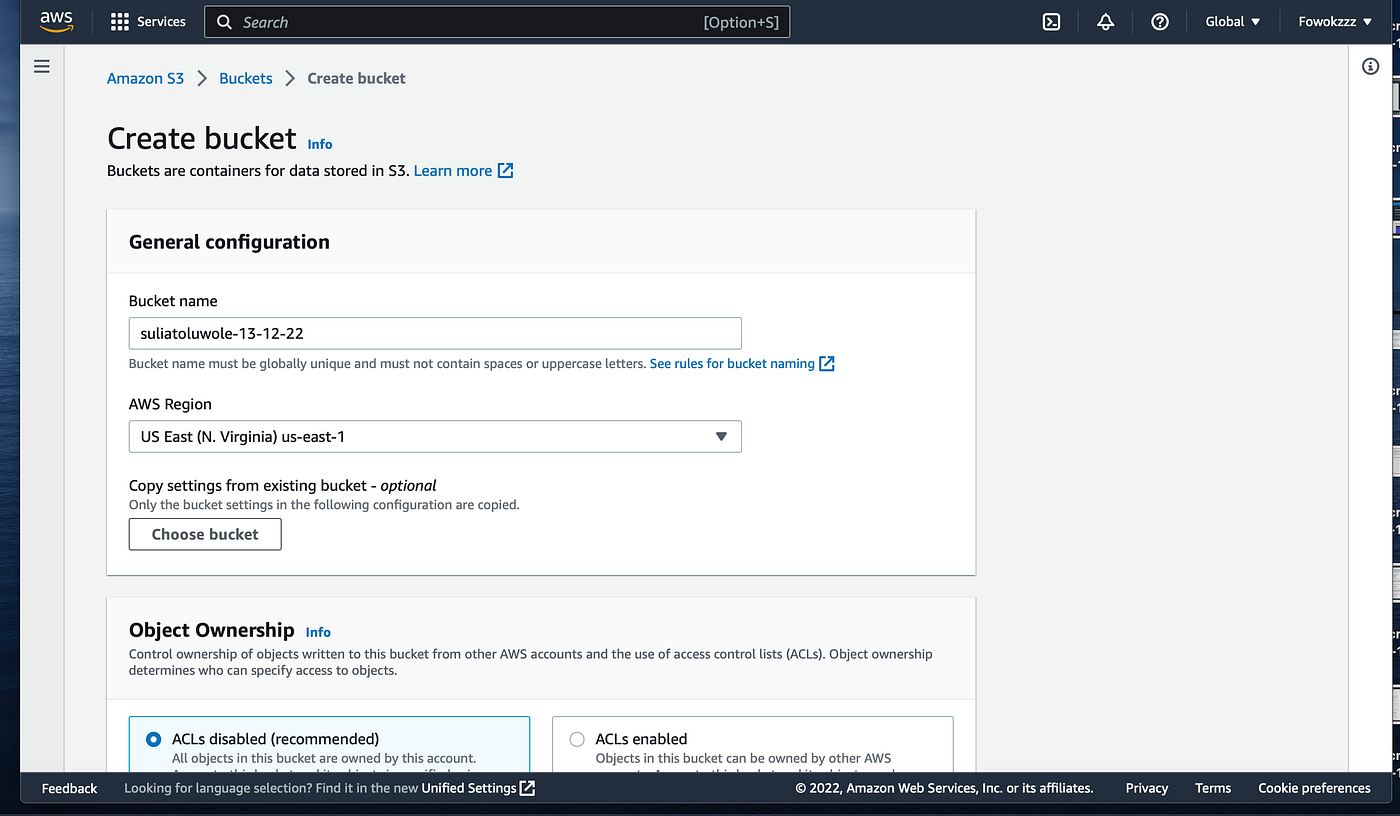
Give your bucket a name but note that your bucket name must be globally unique. This means that no two buckets must have the same name. For this tutorial, we’ll name our bucket “suliatoluwole-13–12–22”.
For further configuration;
Object ownership: This determines who can specify access to the objects. We’ll be disabling ACLs because we want access to this bucket and its objects to be specified using only policies.
Block all public access: This is enabled because we do not want files on our website to be accessible to outsiders.
Every other configuration remains in the default setting. Then we create a bucket.
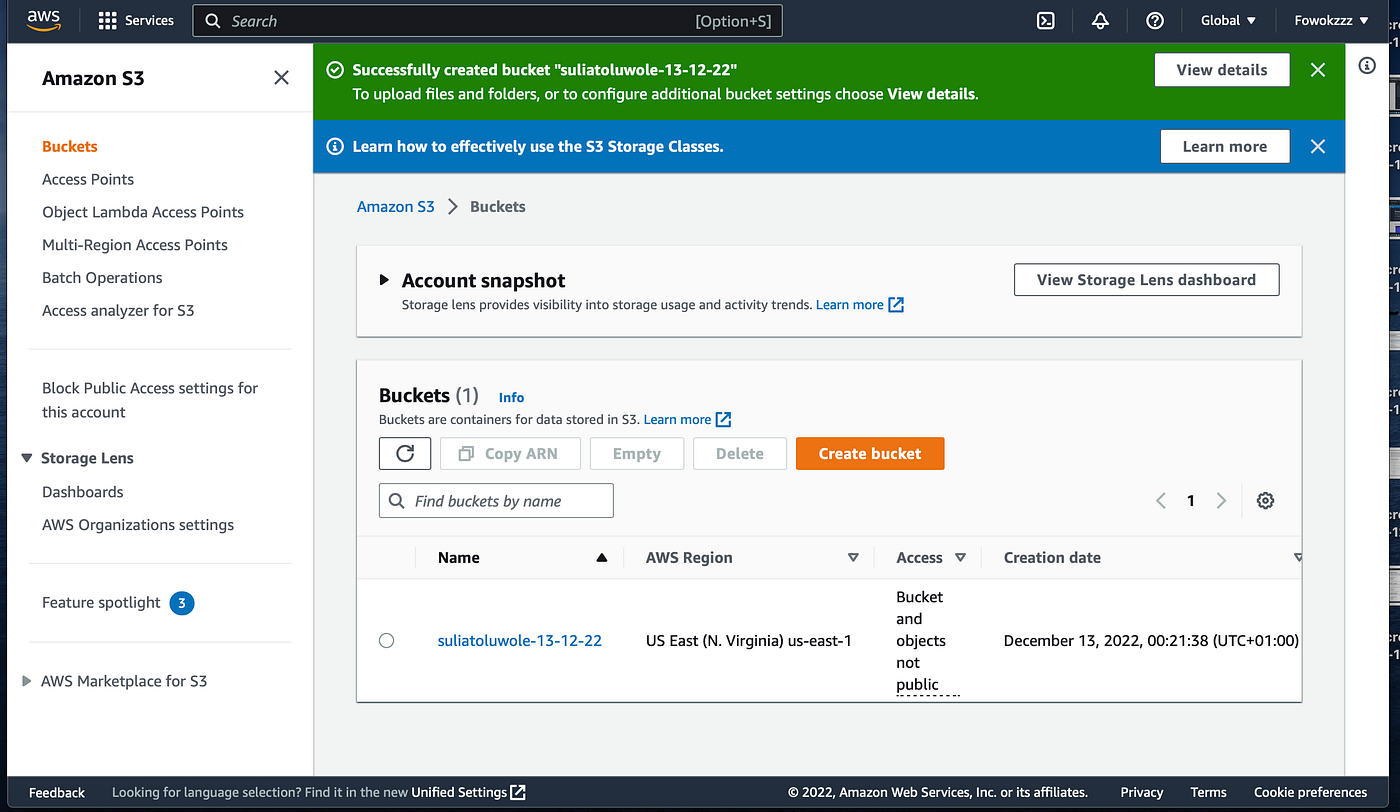
S3 Bucket successfully created.
After creating the S3 bucket, we can now upload files and folders available on the website and also configure additional bucket settings.

Click on the bucket and click on upload
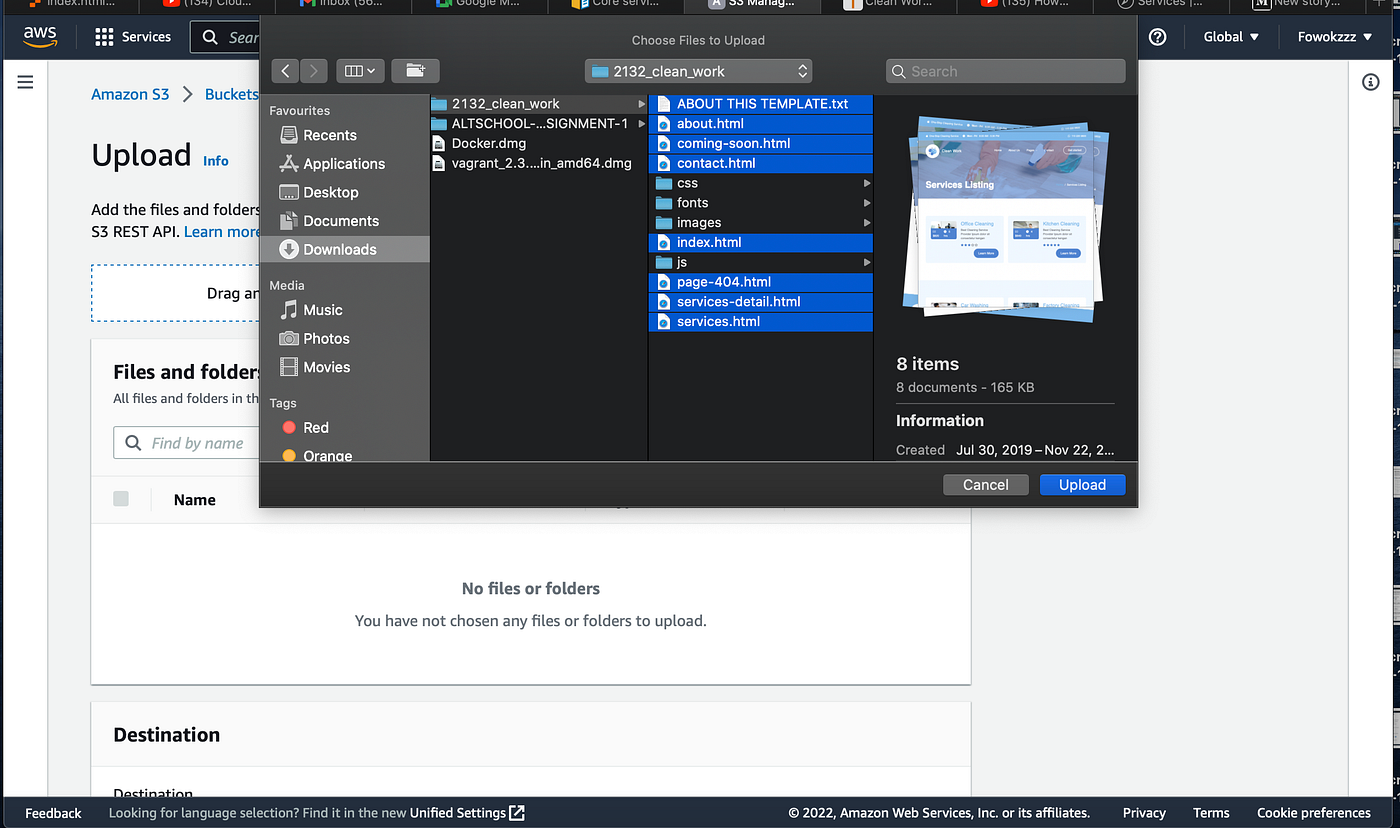
Click on “Add files”
The website we want to host is saved locally on my computer as 2132_clean_work. After clicking on it, some files and folders can be seen. What we do is highlight all the files and click on upload as seen in the image below.
Uploading files
Next, we upload the folders in our website.

Upload Folders
Click on “Add folder”
Proceed to upload the folders one after the other. In this case, our folders are css, fonts, images and js.
Scroll through and compare with the folder structure to be sure you have all folders and files uploaded.
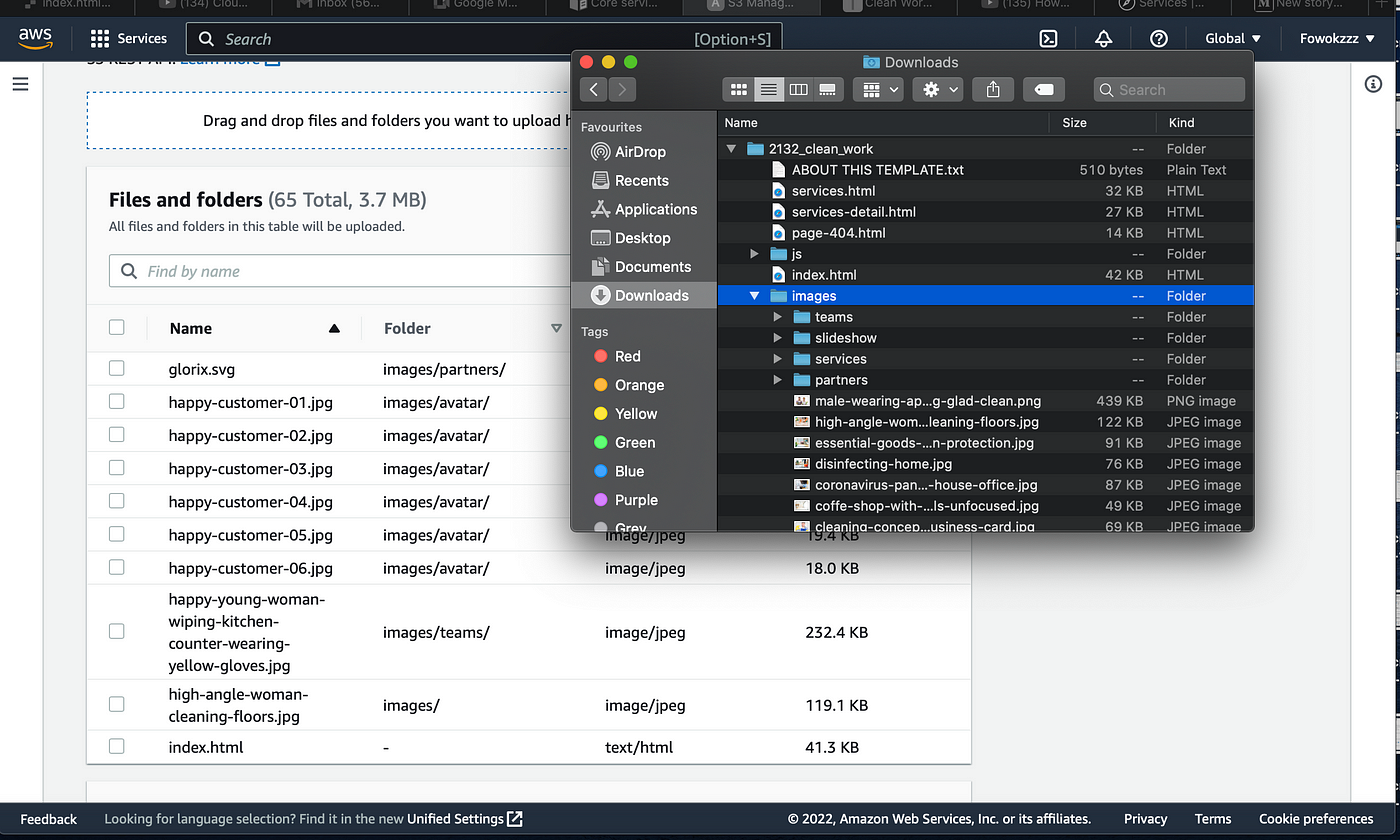
The files and folders are named exactly the way it is on your computer so it’ll be easy for you to crosscheck the pathways.
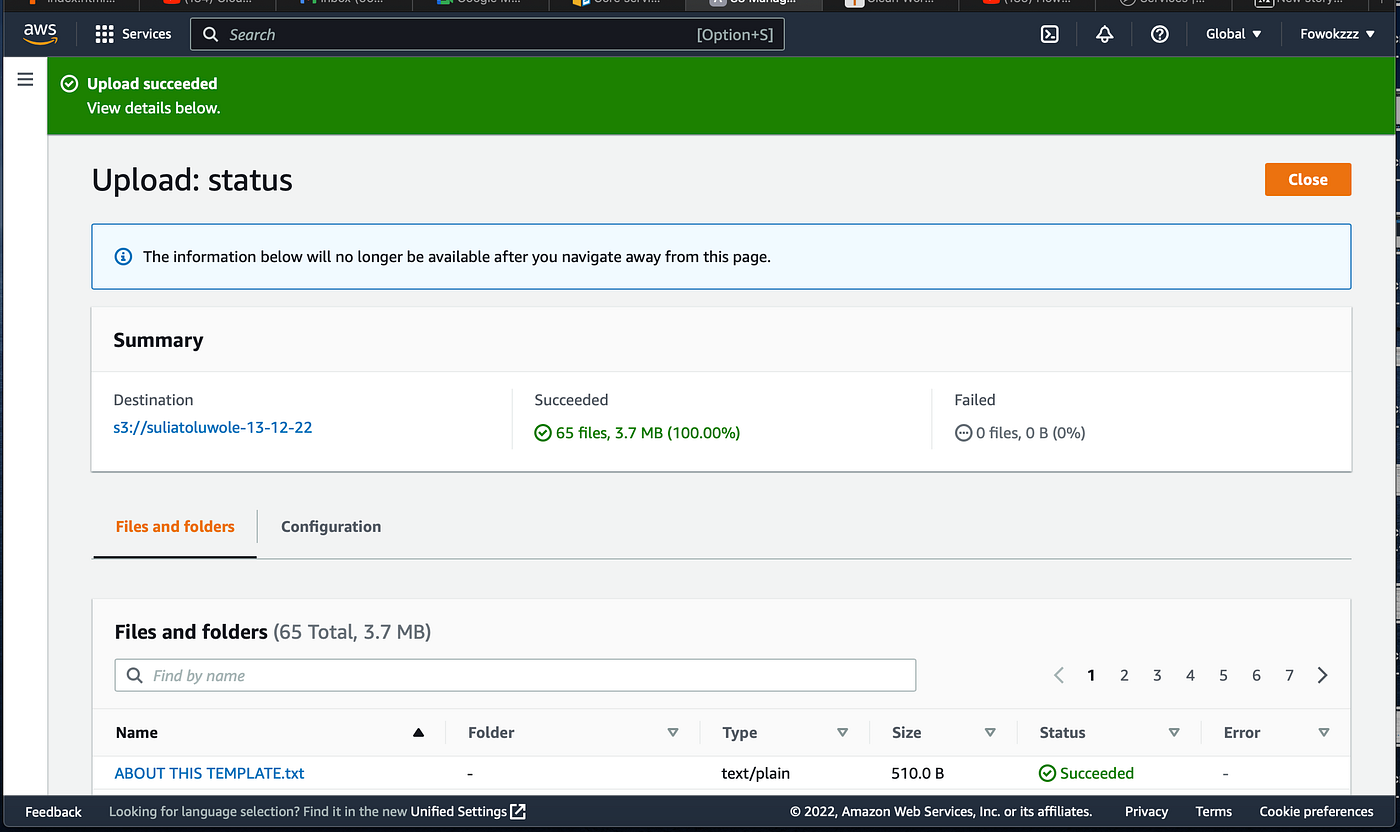
Uploads Successful
Proceed to upload the website after cross-checking. When the upload has been done successfully, click on close.
Cloudfront
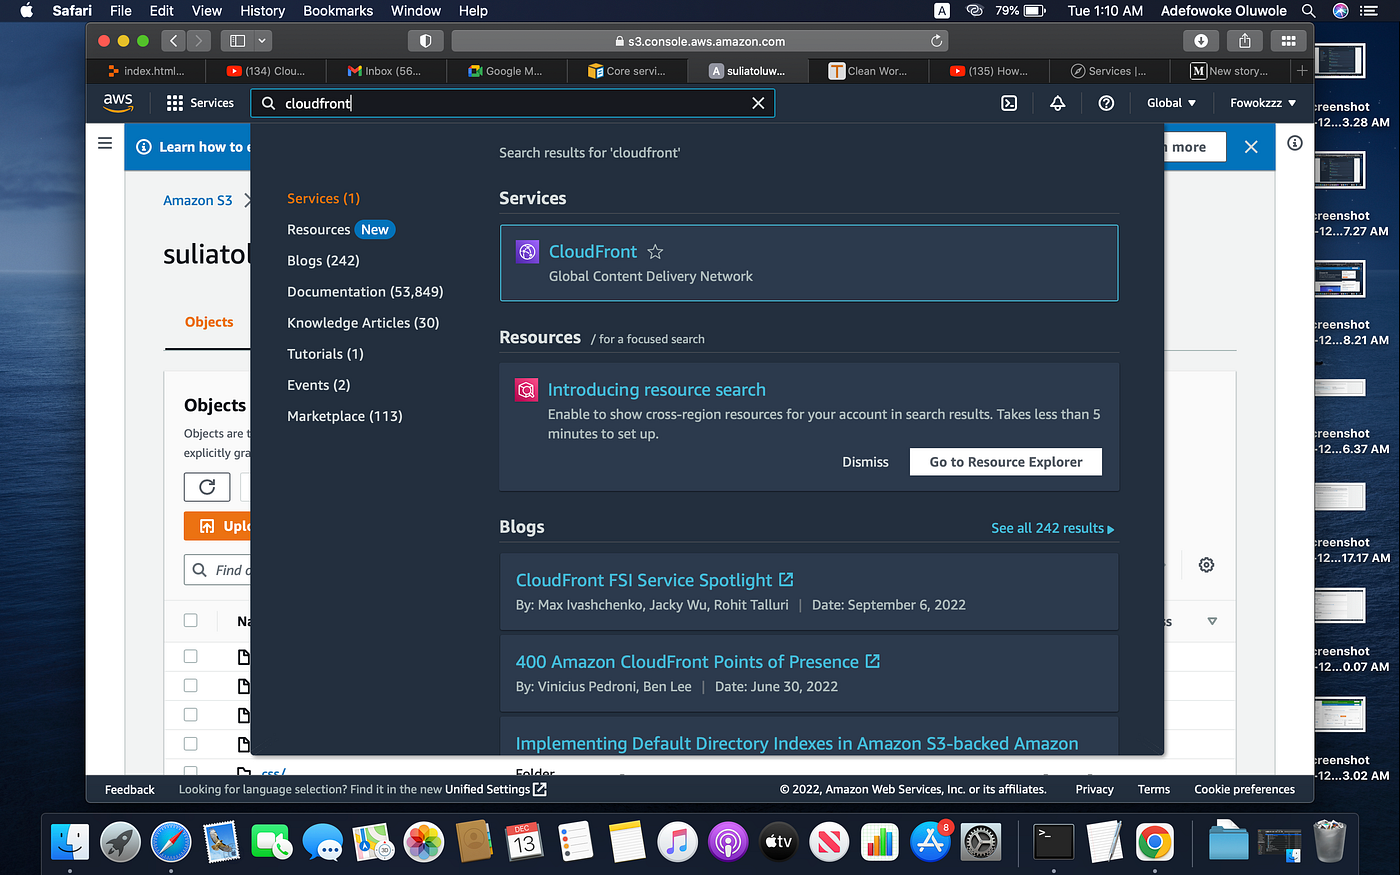
After setting up our S3 Bucket and uploading our files, the next step is to create a CloudFront distribution.
Click on the search bar as we did for S3 and search for CloudFront in the available services. Fill in the following information to create the distribution;
- Origin
— Origin Domain: Previously created S3 bucket nsme
— Origin Path: Default setting
— Origin access: Origin access control settings (This allows bucket to restrict access to only cloudfront). This selection leads to further configuration setting.
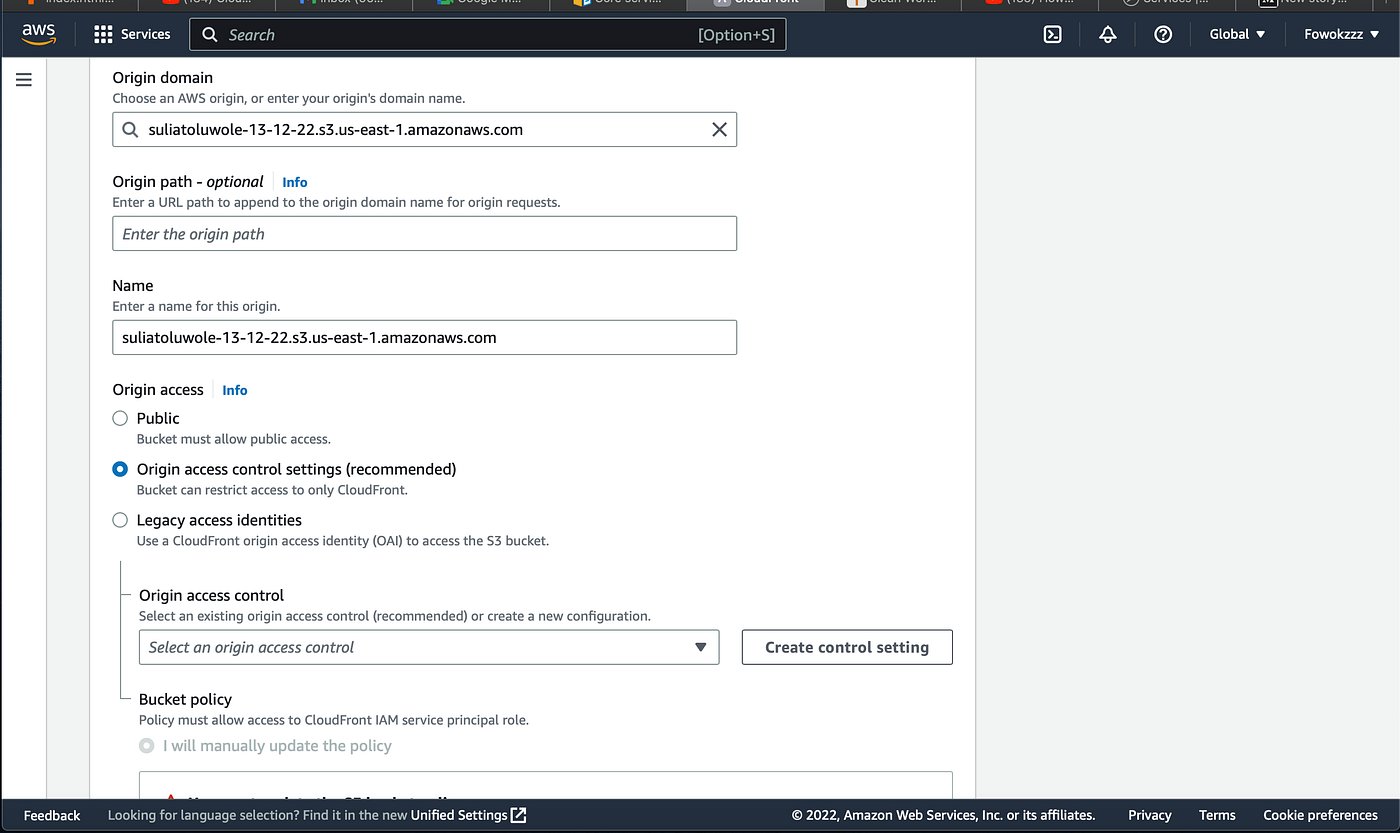
Origin Setting
— Click on “Create control setting”
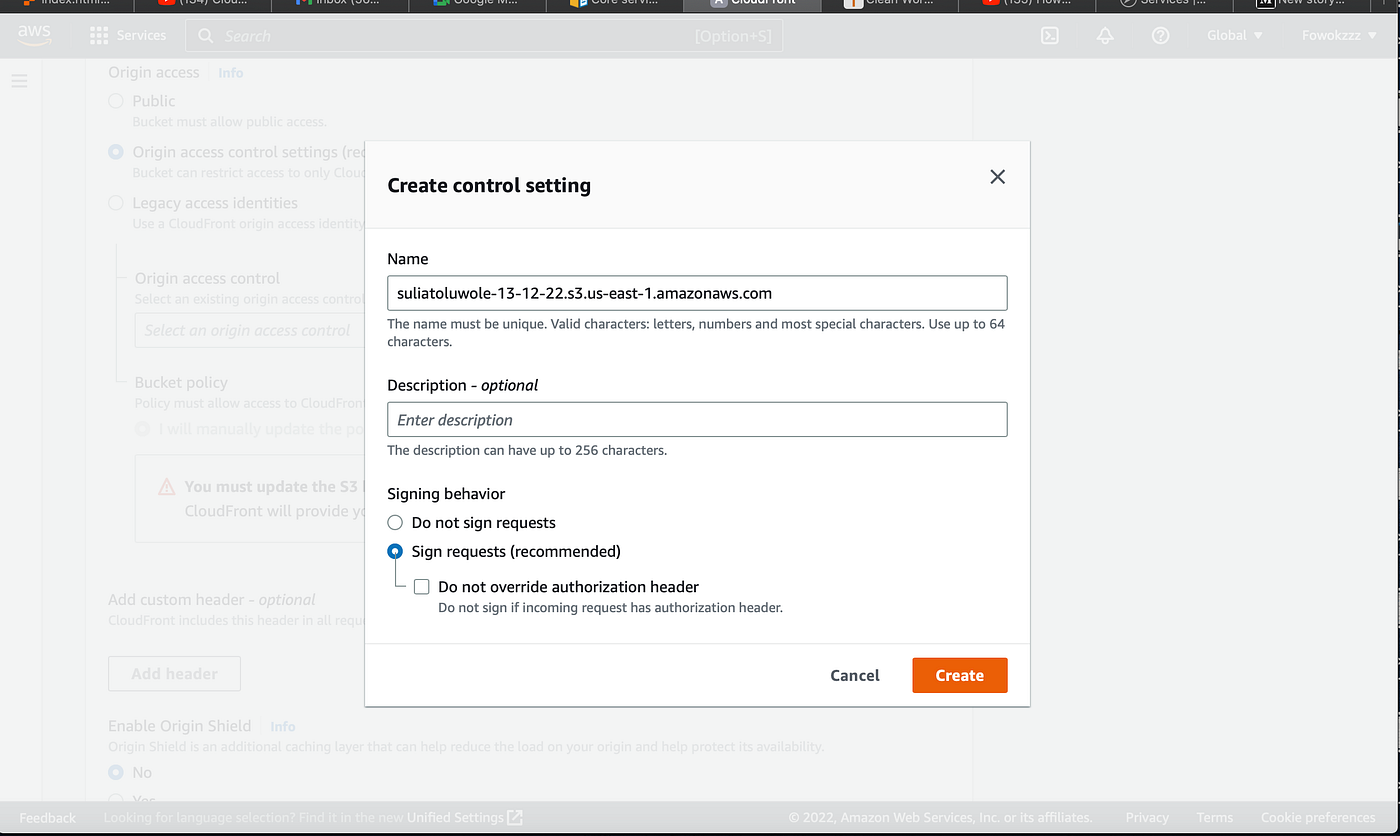
Create Control Setting
— Signing behavior: sign requests. Then click on create.

— Default root object: index.html (The file we uploaded in our S3 bucket)
— Every other configuration remains in default settings.
— Click on “Create distribution”.
After Cloudfront distribution has been created, you’ll notice there’s a prompt that says S3 bucket policy needs to be updated.
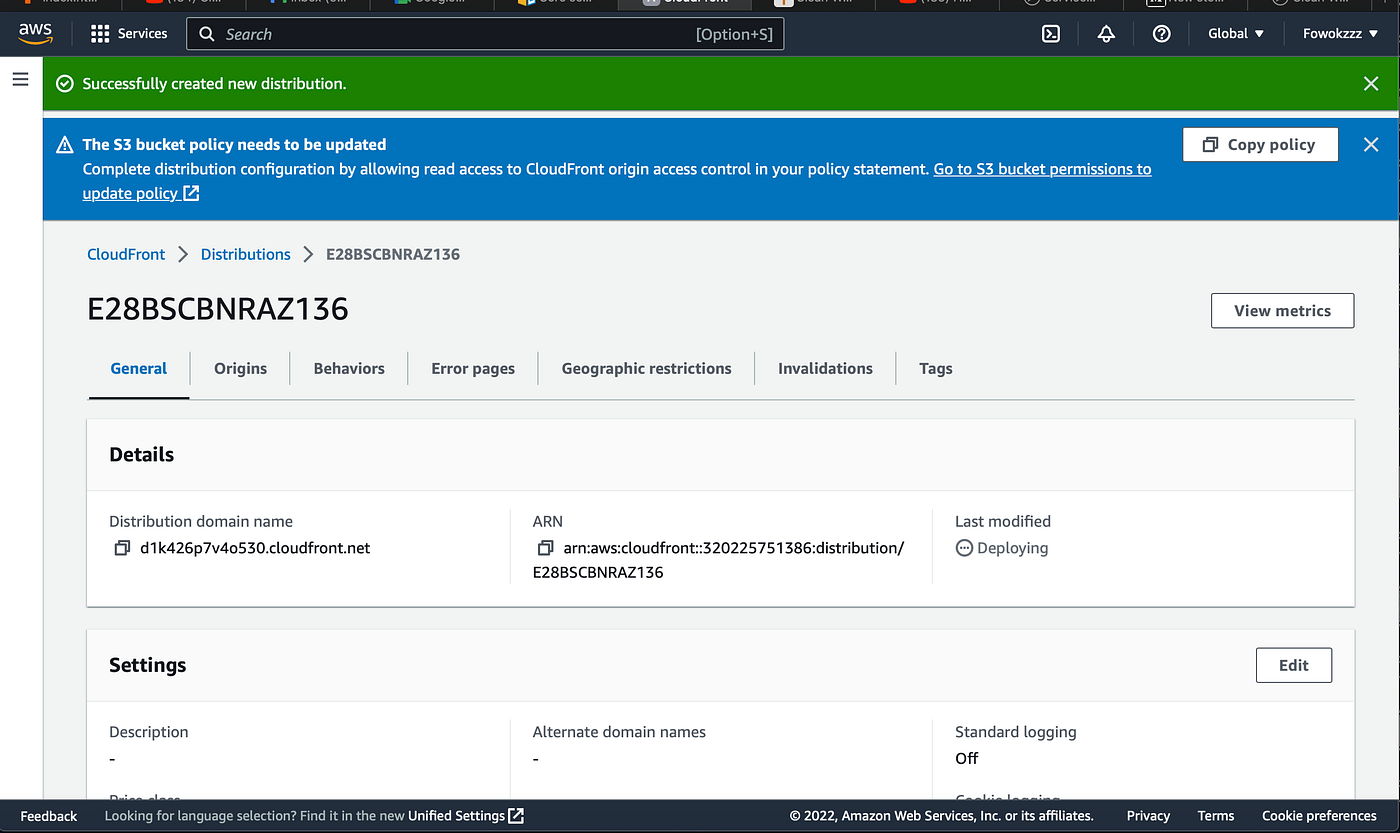
New distribution created
— Click on “copy policy”, Go to the link that provided in the prompt
— Click on “Edit” under “Bucket Policy”. Paste the copied policy and save changes as seen in the image below.
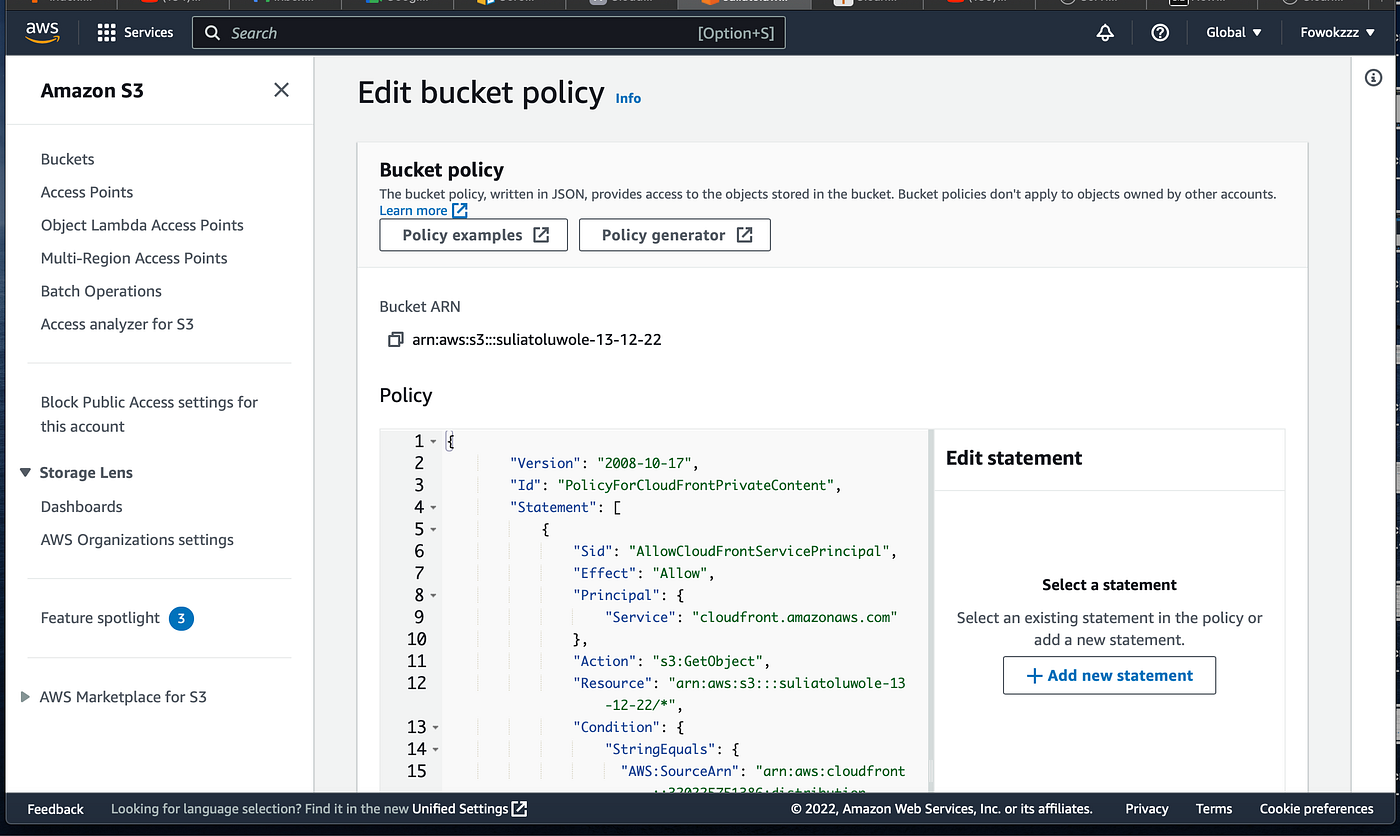
Bucket Policy
Last thing we have to do is enable static websites;
— Go to properties
— Scroll all the way to static website hosting and click on edit

This takes us further to other settings;
— Index document: index.html
— Other options remain in default settings
— Click on “Save changes”
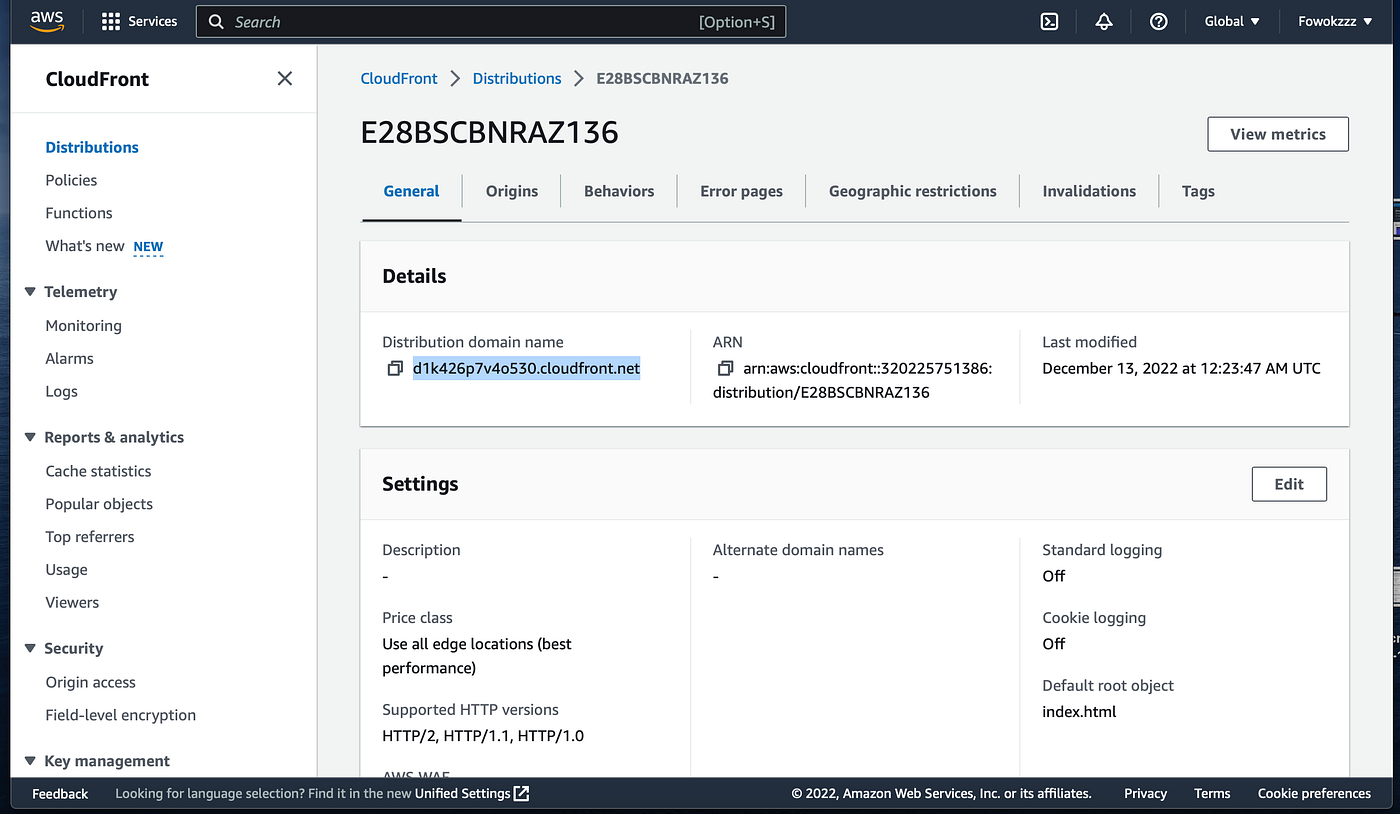
Distribution domain name
Now that we have configured all our settings, go back to Cloudfront and copy the distribution domain name as seen in the image above.
When you paste the domain name in your browser, you’d see that your website has been successfully deployed.
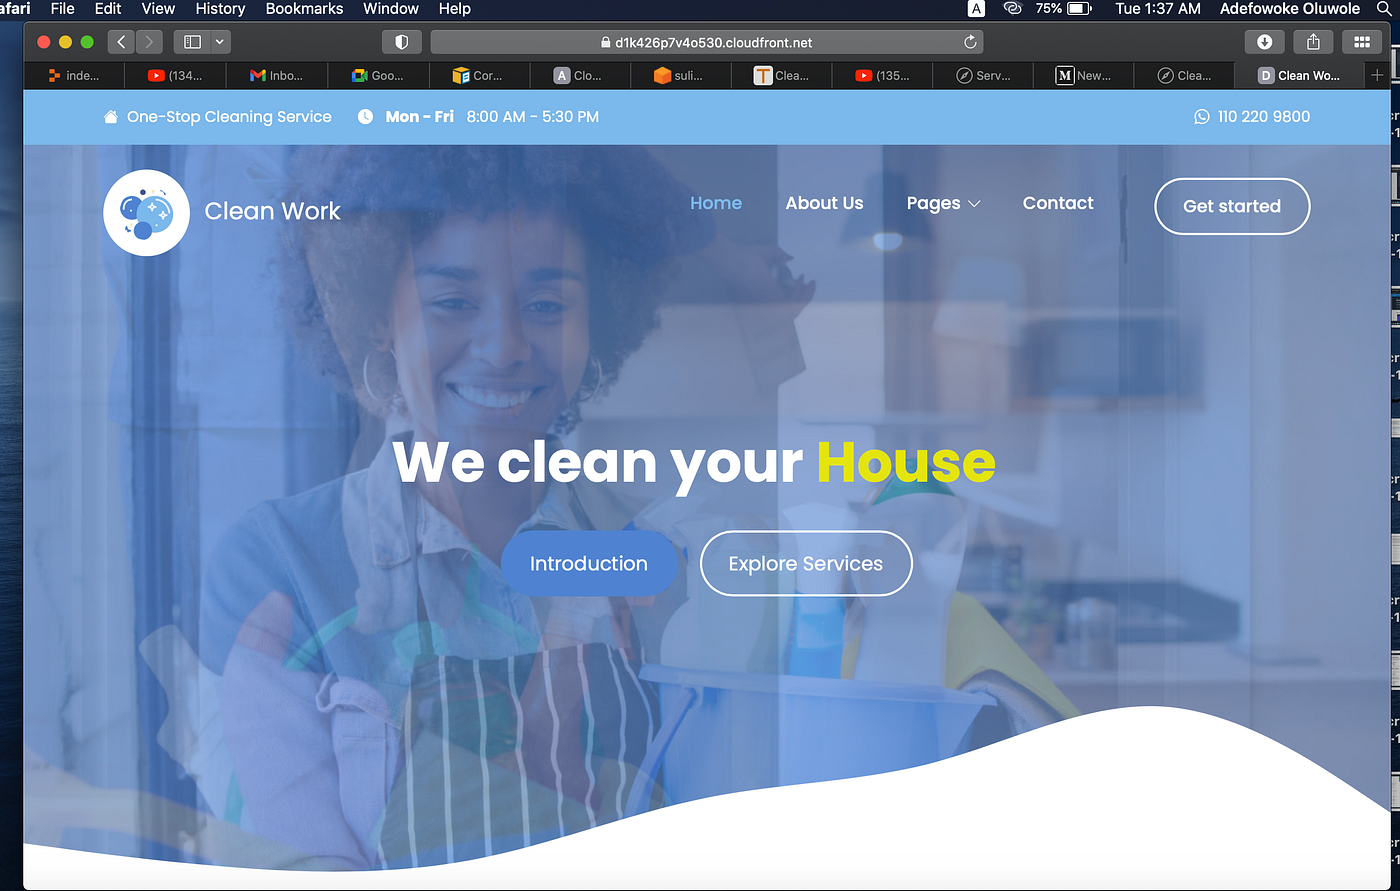
Static Website hosted
For practices, you can get free HTML/CSS templates for your website on Tooplate.
